Notice: There is no legacy documentation available for this item, so you are seeing the current documentation.
There are times when you may need to FTP to the server where your website is hosted. For example, you may need to install a plugin manually on your website.
In This Article
Information You’ll Need From Your Hosting Provider
First, you need to get your FTP login information from your hosting company. Depending on your hosting provider, you may be able to find this by logging into your control panel.
Hosting companies sometimes have different ways to do this, so check with them to see how you can access your server via FTP.
You will need four pieces of information:
- Hostname or IP address of your web server
- Your FTP username
- Your FTP password
- Which protocol your hosting provider uses: FTP, SFTP, FTPS or something else
Downloading the FileZilla Application
Once you have this information, you will need an FTP client on your computer to access servers using FTP.
We recommend using FileZilla as it is a very popular free FTP software program. You can download it at https://filezilla-project.org/download.php.
How to Use FileZilla to FTP to Your Server
The following instructions are specific to FileZilla:
1. Open FileZilla and enter your server hostname or IP address in the Host field
2. Enter your server FTP username and password in the Username and Password fields
3. Enter the port number in the Port field (i.e. 21 for FTP or 22 for SFTP)
4. Click the Quickconnect button

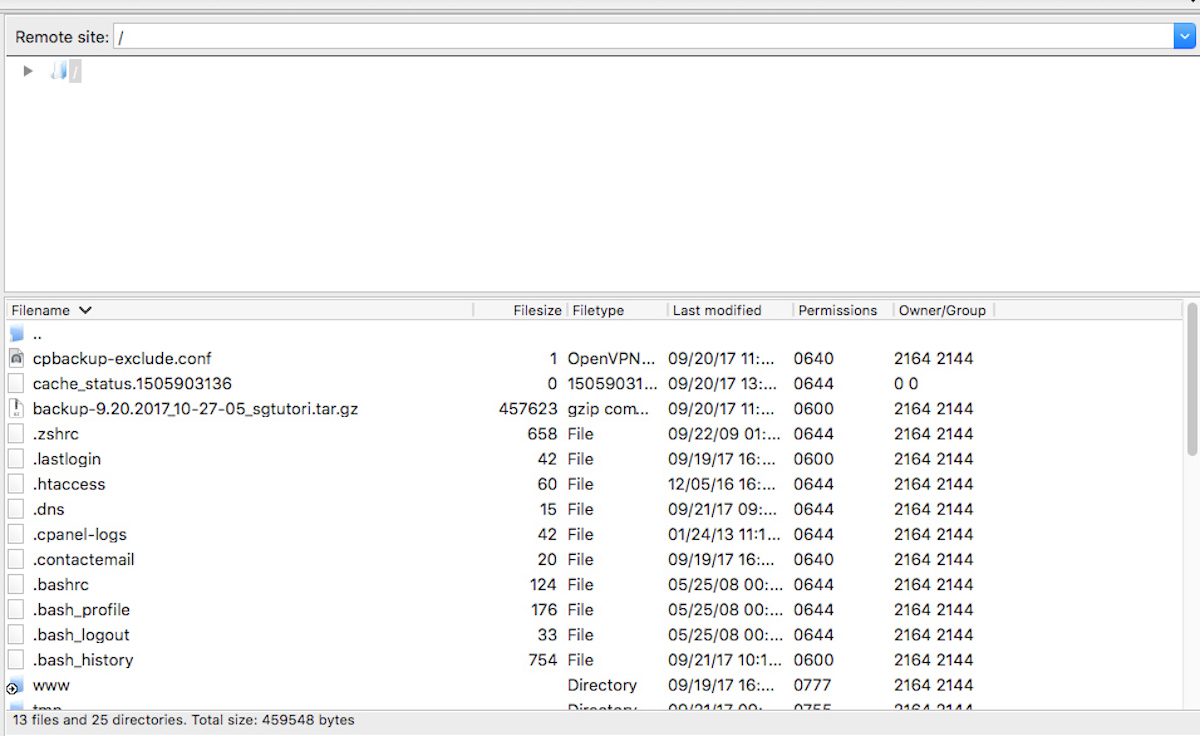
5. You will be connected to your hosting account. On the right side of the FileZilla window, you will see a list of all the files and folders on your account

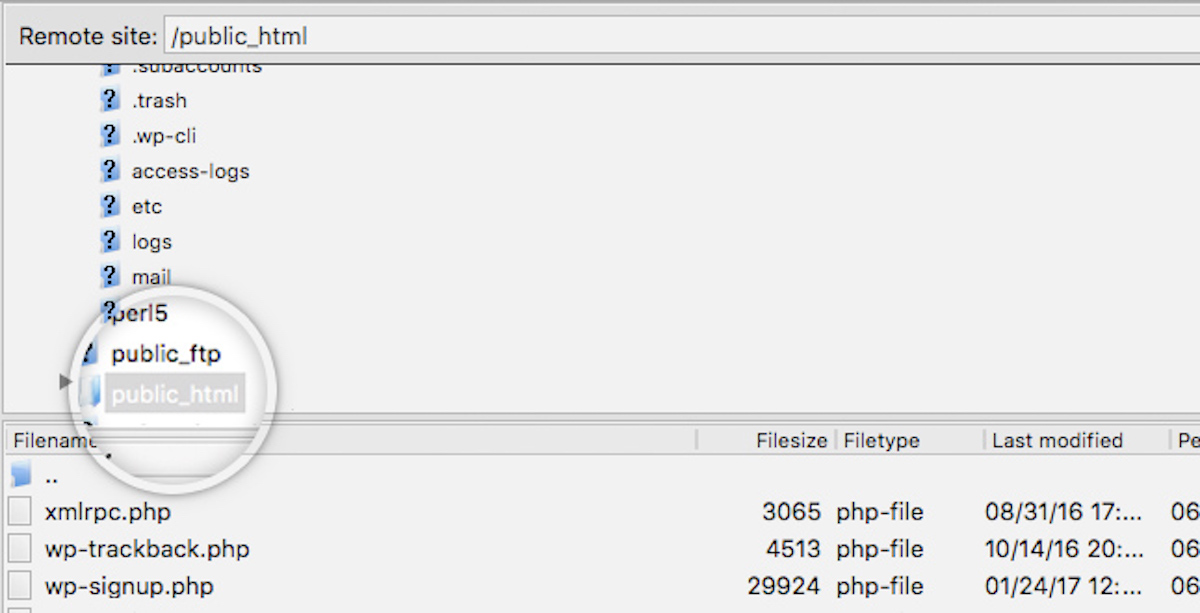
6. In the right panel of FileZilla, navigate to the folder on your account in which you want to upload the new files, for example – public_html

7. Then, select one or more files from the left side panel (your local machine) to be uploaded and right click on them. From the menu that shows up, click the Upload button. The transfer will automatically be initiated, which will be indicated at the bottom panel of the application
8. Wait for the upload to complete. The uploading of these files will be logged in the Successful Transfers tab at the bottom panel.