Notice: There is no legacy documentation available for this item, so you are seeing the current documentation.

Are you looking to get your business listed in local search results?
This article will help you use our Local Business SEO add-on to manage how your business appears on search engines.
Our Local Business SEO add-on outputs code known as Schema.org structured data markup that provides search engines with detailed information about your business.
Search engines then use this code to display rich results that may include information such as your address, phone and email contact information, opening hours, as well as other useful information.
This can be displayed in the side bar area of search results as a Knowledge Graph card (seen in the example to the right) or in other formats.
NOTE:
Search engines decide on a per search basis whether to display this information or not, and in which format. It’s completely automated.
In This Article
Tutorial Video
To get started, click on Local SEO in the All in One SEO menu. You may need to activate the Local SEO feature by clicking the Activate Local SEO button.
NOTE:
The Local SEO feature is available to customers with a Plus plan or above for All in One SEO Pro.
Upgrade to All in One SEO Pro today to get Local SEO and many more features!

You should now see the Local SEO settings.
Locations Settings
The first section you’ll see is Location Settings.
Here you can enable Multiple Locations if your business has more than one location. You can learn more about Local Business SEO for Multiple Locations here.

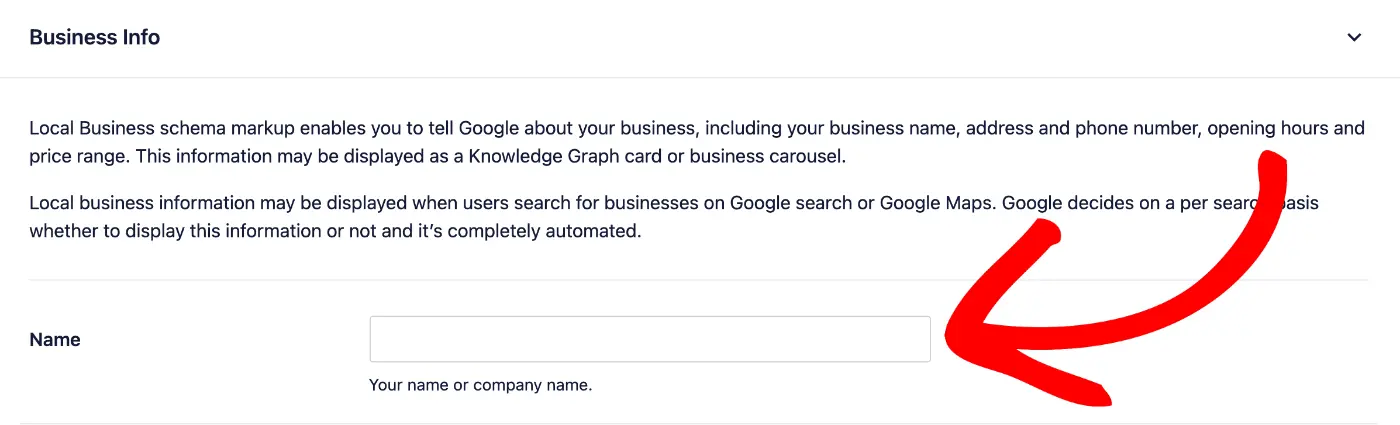
Business Info
The next section is Business Info. Here’s where you’ll enter your business information if you only have one location and Multiple Locations is set to No.
This section will not appear if you have Multiple Locations is set to Yes.
The first setting in the Business Info section is Name. Enter the name of your business here.
The next setting is Image. You can upload an image, select an image from your Media Library, or paste in the URL for an image that represents your business such as a logo or photo of the outside or inside of your business premises.

Next is the Type setting. Select the most appropriate type from the drop down.

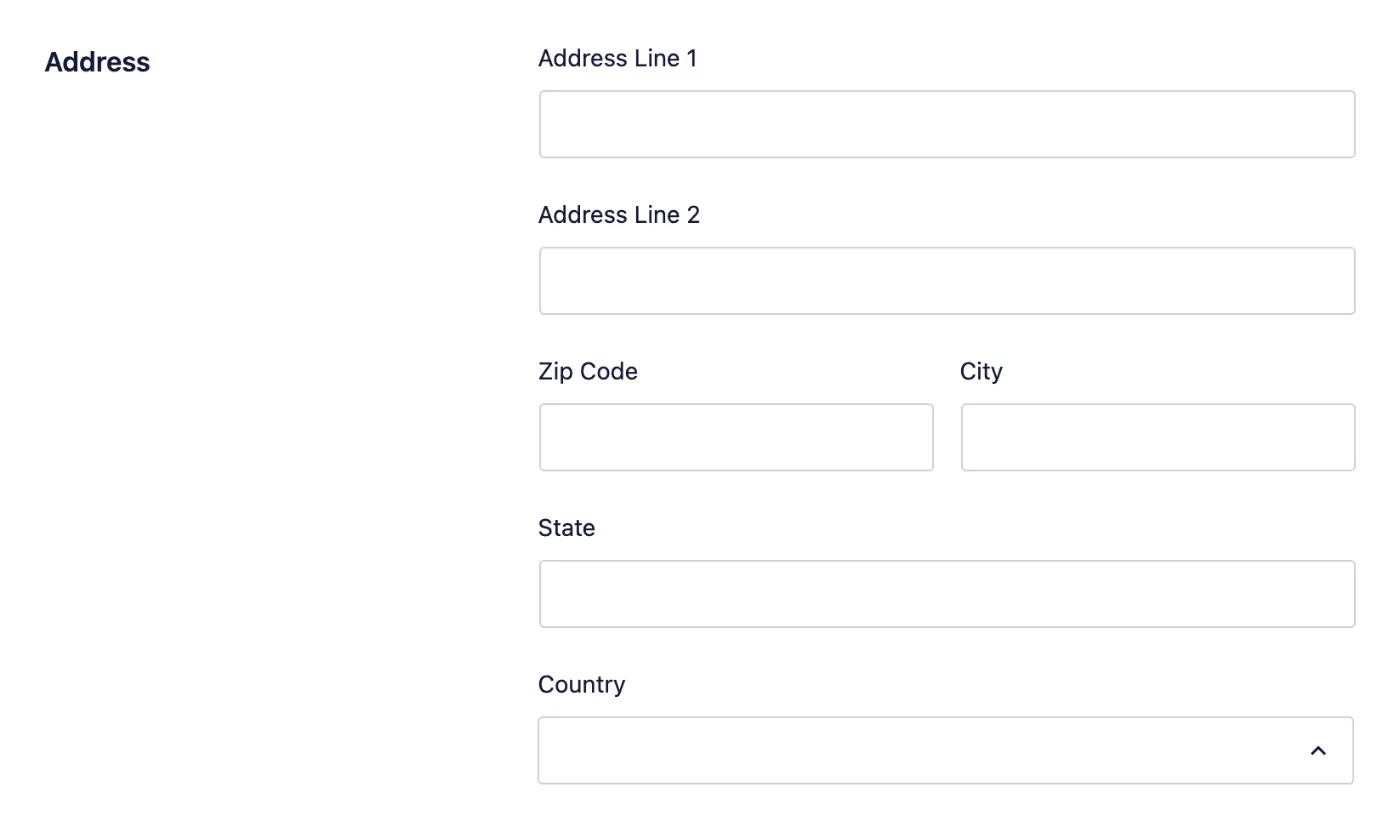
Next, enter the primary address for your business in the Address fields.
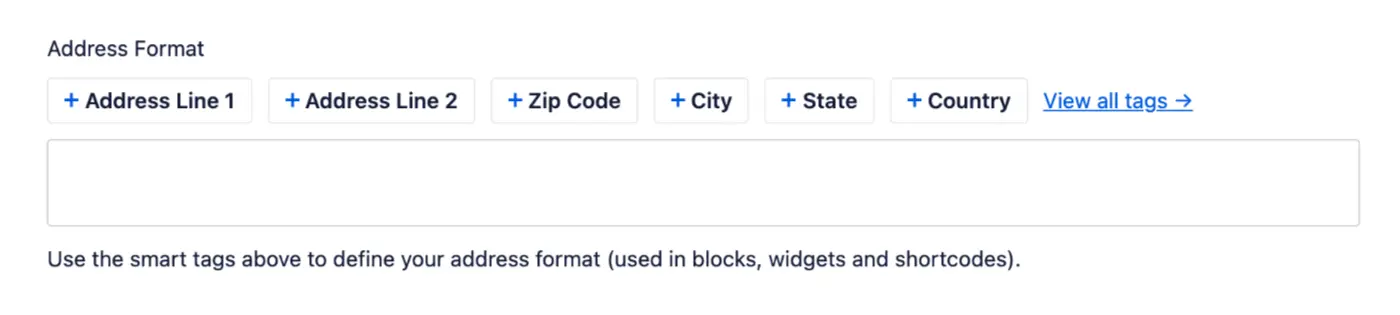
You can use the Address Format field to set the format of your address when it’s displayed on your site using the widget, block, shortcode or PHP tag.
Use the smart tags shown above the field to add each part of your address in the format you want it displayed on your site.
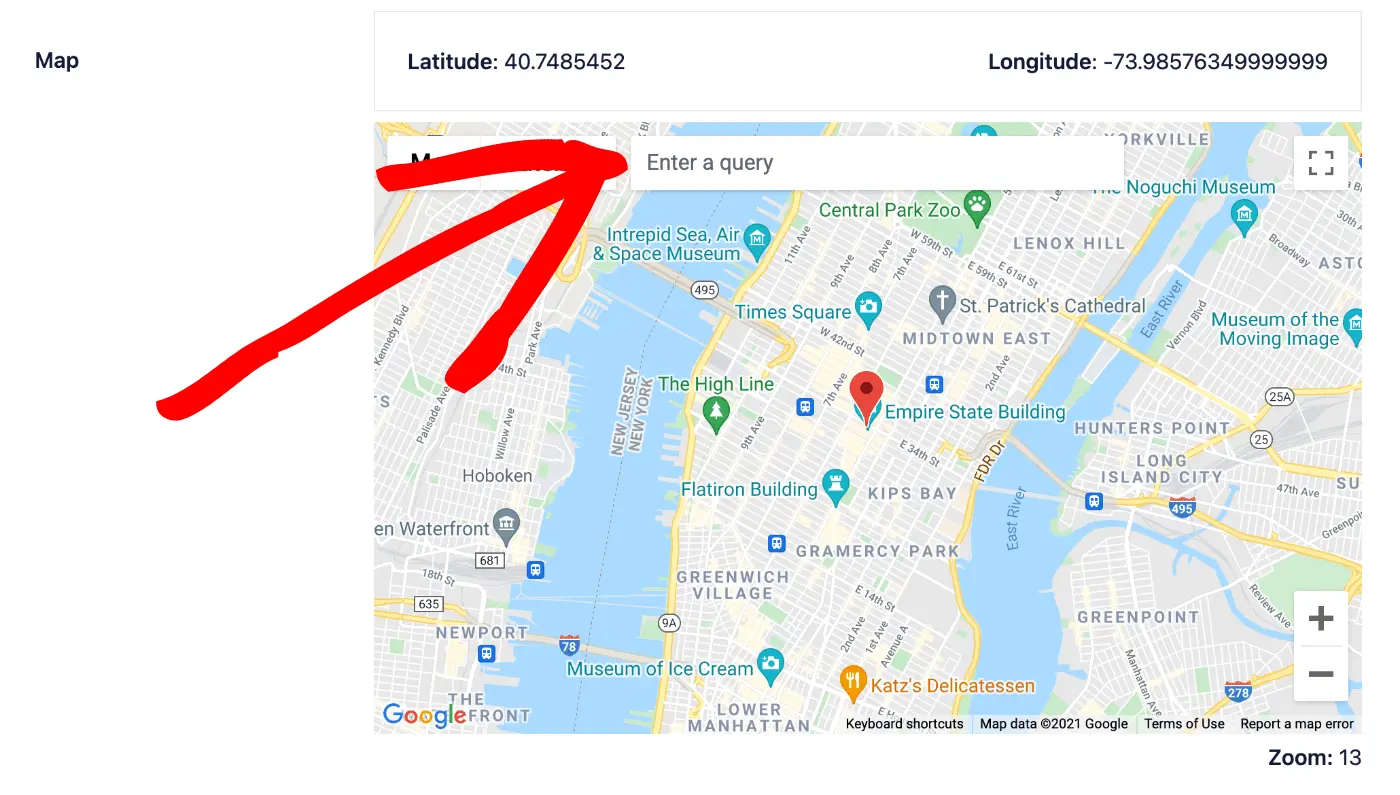
Next, you can mark the location of your business on the map.
Enter the address in the Enter a query field and your location will be displayed on the map. You’ll need to set up the Google Maps API Key here in order to do this.
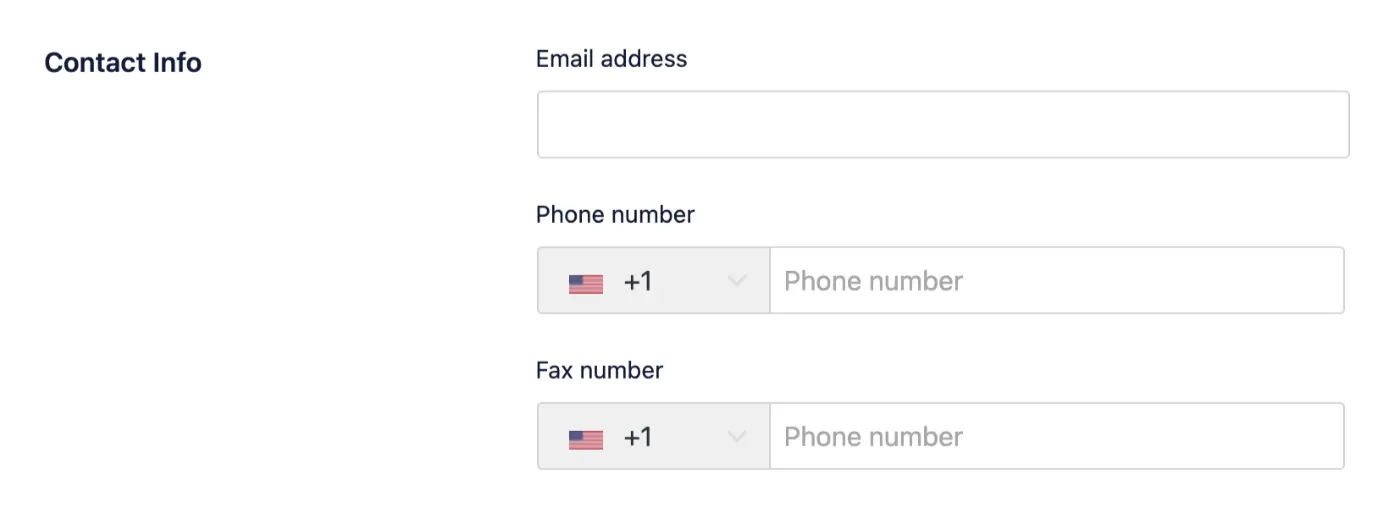
Next, you can optionally enter the primary email address, phone number and fax number (if you have them) in the Contact Info fields.
Phone and fax numbers can be typed normally without any brackets or hyphens.
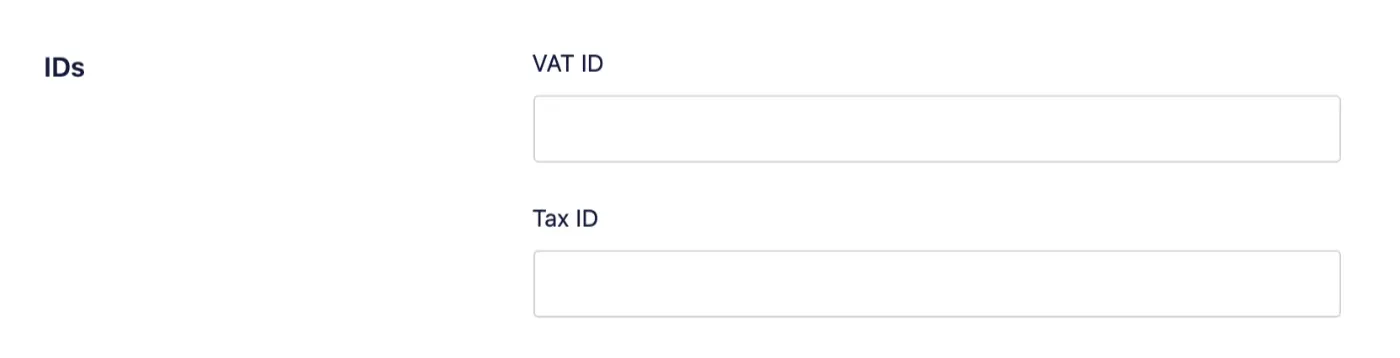
If you have a VAT number or Tax ID, you can optionally enter them in the IDs fields.
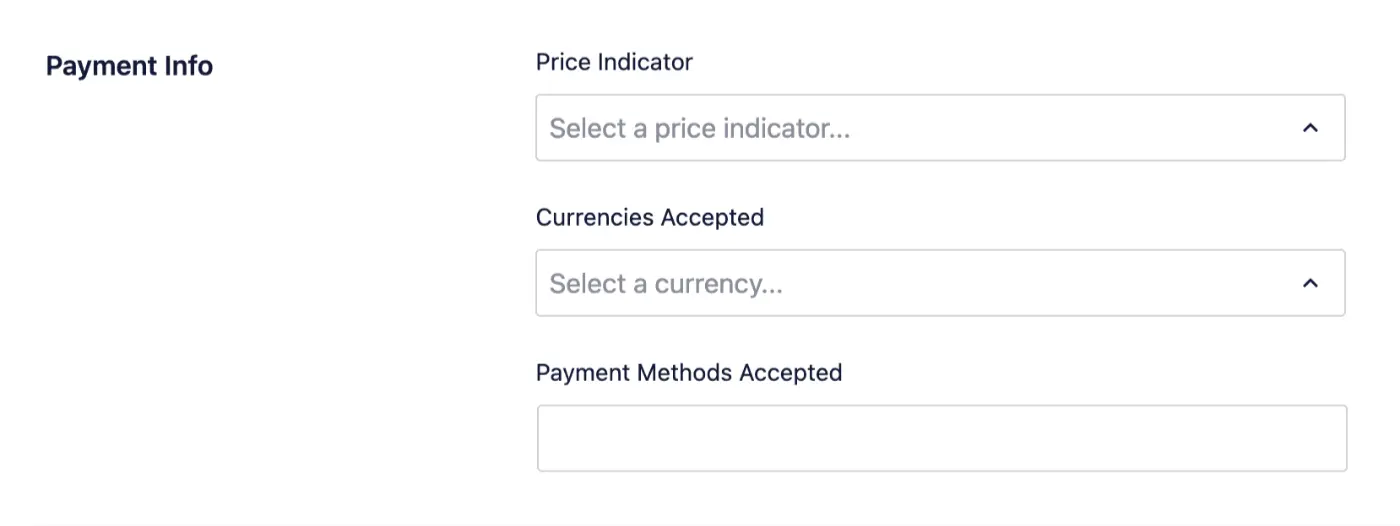
Next, use the Price Indicator and Currencies Accepted drop downs to select the appropriate level for your prices and the currencies you accept. You can also list which payment methods you accept in the Payment Methods Accepted field. Payment methods can be added as a list separated by a comma.
Next, you can enter the list of areas you serve in the Area Served field. You can enter a list of cities, postal codes or other information related to the areas you serve here, separated by a comma.

Once you’ve completed the Business Info tab, click the Save Changes button at the top or bottom of the screen.
NOTE:
Local Business Schema markup is ONLY output in the homepage source code, as per the Schema.org requirements.
Opening Hours
Now that you’ve completed the Business Info tab, click on the Opening Hours tab to set the days and times your business is open.
The first setting is the Show Opening Hours toggle, set this to Yes and click the Save Changes button if you want to set and display opening hours for your business.

Next, you’ll see the Display Info section where you can choose whether you want to use a widget, shortcode, block or PHP code to display your opening hours on your site.

Next, you’ll see the Labels section where you can set the text that will be displayed if you’ve set opening hours for any day to either Open 24h or Closed.

Next, you can use the Open 24/7 toggle to select if your business is open 24 hours a day, 7 days a week. You can use the Use 24h format toggle to select whether you want to use the 24 hour format when setting opening and closing hours.

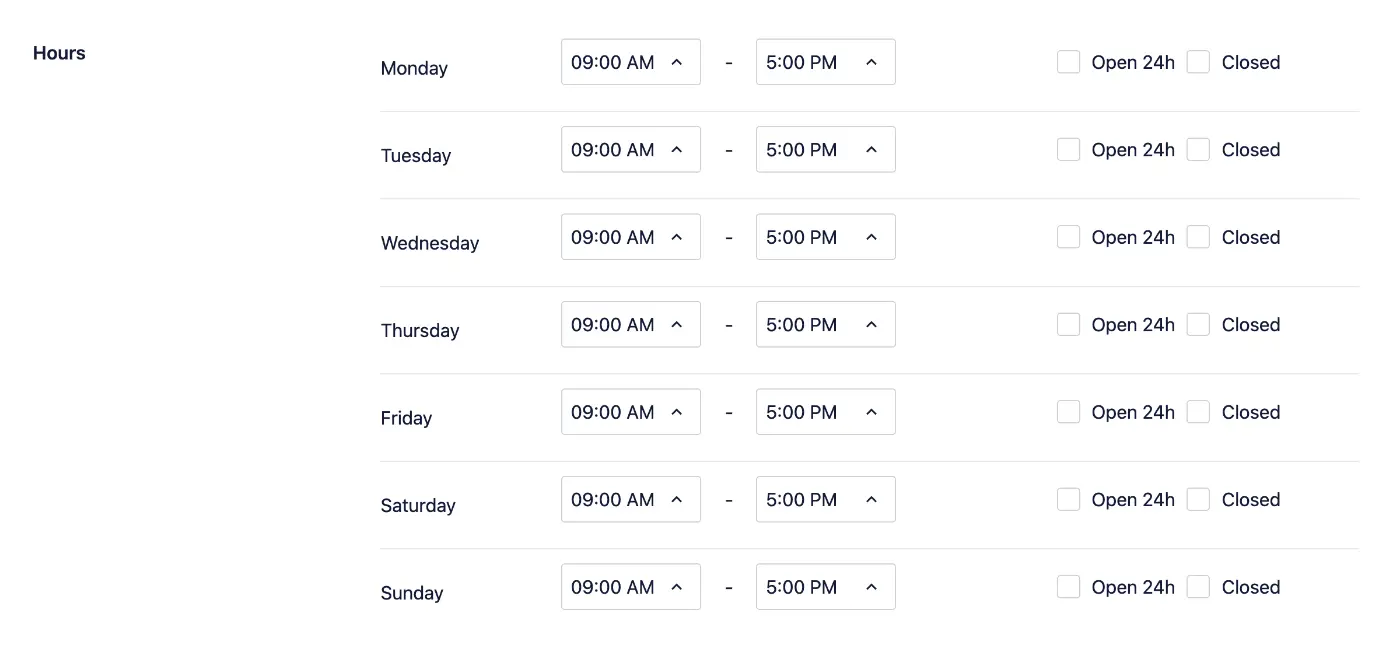
Finally, you’ll see settings for each day of the week where you can set the opening hours.
Use the drop downs to select what time your business opens and closes each day. You can use the checkboxes to set if your business is open 24 hours or closed on a specific day.
Once you’ve completed the settings for each day of the week, click the Save Changes button at the top or bottom of the screen.
NOTE:
Opening Hours Schema markup is ONLY output in the homepage source code, as per the Schema.org requirements.
Congratulations! You’ve now configured the Local Business SEO add-on.
Importing Location Information From Other Plugins
You can import location information from other plugins. To learn about this, please check out our article here.


